Production Stages for Yeast Breads- Bakers challenge #2
Hey guys, Its Robert again today I'm here to talk to y'all about the production of yeast breads. As stated in my last post "Yeast risen breads are breads that require yeast. Yeast is a living organism: a one-celled fungus". Over the centuries, bakers have learned to manipulate the basic ingredients-flour, water, salt, and leavening- to produce a vast variety of breads. Which brings me to my main topic the production stages of yeast breads. The production of yeast breads can be divided into ten stages theses stages include:
1.
Scaling the ingredients
2. Mixing and kneading the dough
3. Fermenting the dough
4. Punching down the dough
5. Proportioning the dough
6. Rounding the portions
7. Making up: shaping the portions
8. Proofing the products
9. Baking the products
10. Cooling and storing the finished products
3. Fermenting the dough
4. Punching down the dough
5. Proportioning the dough
6. Rounding the portions
7. Making up: shaping the portions
8. Proofing the products
9. Baking the products
10. Cooling and storing the finished products
Stage One- Scaling the ingredients: Three things to remember when scaling - temperature, weight , and mass
Temperature- dough temperature is important because the higher the temperature of the dough the faster the rate of fermentation will occur, also the lower the temperature the slower the rate of fermentation. Another thing to keep in mind is Friction Factor- the temperature increase that a mixer generates in bread dough as it is being kneaded.

Stage Two- Mixing and kneading the dough: The way ingredients are combined has a major impact on the result of bread. Yeast doughs are usually mixed by the straight dough method or one of the many pre-fermentation methods. Kneading helps the proteins hydrate ensuring development of the gluten web. BAKER TIP- check to see when bread dough is properly kneaded and its gluten structure is fully developed by performing the windowpane test.

http://www.seriouseats.com/assets_c/2014/09/20140828-bread-mixing-dough-vicky-wasik-18-thumb-1500xauto-410712.jpg
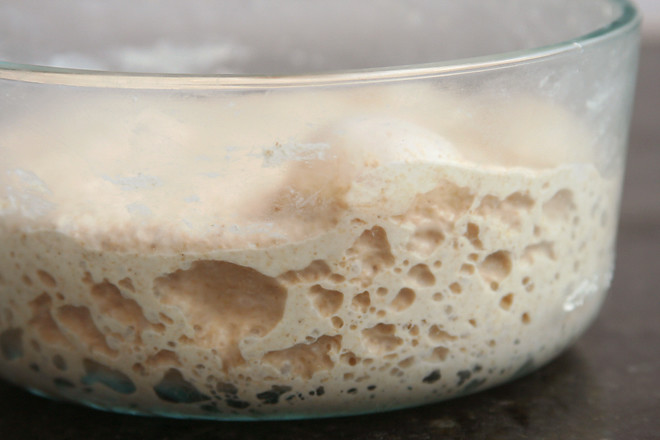
Stage Three-Fermenting the Dough: fermentation is the natural process by which yeast converts sugar into alcohol and carbon dioxide. No-time dough refers to formulas in which the quantity of yeast is increased to such an extent that fermentation time is reduced. Dough conditioners are added to ensure that the fermentation process occurs properly. retardation is when yeasted breads are chilled to slow yeast activity and to extend fermentation or proofing time.
https://farm6.staticflickr.com/5728/22577848922_b539c0660a_b.jpg
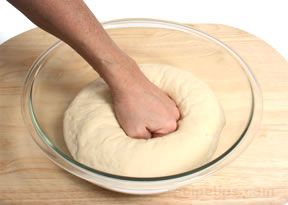
Stage Four- Punching down the Dough: I know what you guys are thinking , No we are not going to actually punch the dough, the dough is our friend so gently apply pressure to allow gas to escape .
http://files.recipetips.com/kitchen/images/refimages/bread/prep/dough/punch_dough.jpg
Stage Five- Portioning the Dough: Divide the dough into portions, to ensure portion size are the same weigh the dough when portioning.

https://cms.splendidtable.org/sites/default/files/styles/w2000/public/7434356832_8f35fc1318_z.jpg?itok=6hAWAB0G
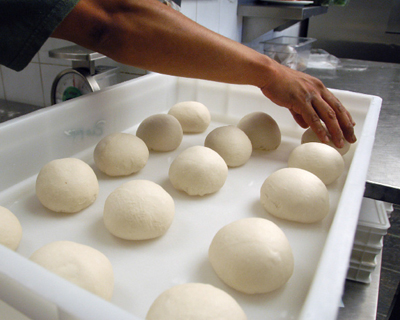
Stage Six- Rounding the portions: portions of dough must be shaped into smooth, round balls known as rounding. this helps hold in gases and makes it easier to shape the dough.
http://theculinarycook.com/wp-content/uploads/2012/04/rounding-dough.jpg
Stage Seven- Make-up: shaping the portions: In this stage you shape the portions into the desired shape/loaf. A general rule, when shaping a soft dough, a tighter shaping is preferred.

https://i2.wp.com/www.inquiringchef.com/wp-content/uploads/2011/07/img_13641.jpg?resize=600%2C400
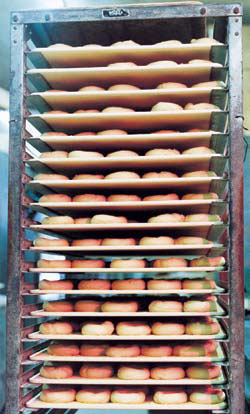
Stage Eight-Proofing the products: the final ride of shaped yeast products before baking. Temperature should be between 80 and 115 degree F. Temperature and humidity can be controlled with a special cabinet known as a proof box (as shown below).
http://www.bakedeco.com/images/description/MFG_222008_in-rack.jpg
Stage Nine- Baking the products: Oven springs= the rapid rise of yeast good when first placed in an oven. bake time varies depending on the size and portion.

https://img.vimbly.com/images/full_photos/bread-baking-3.jpg
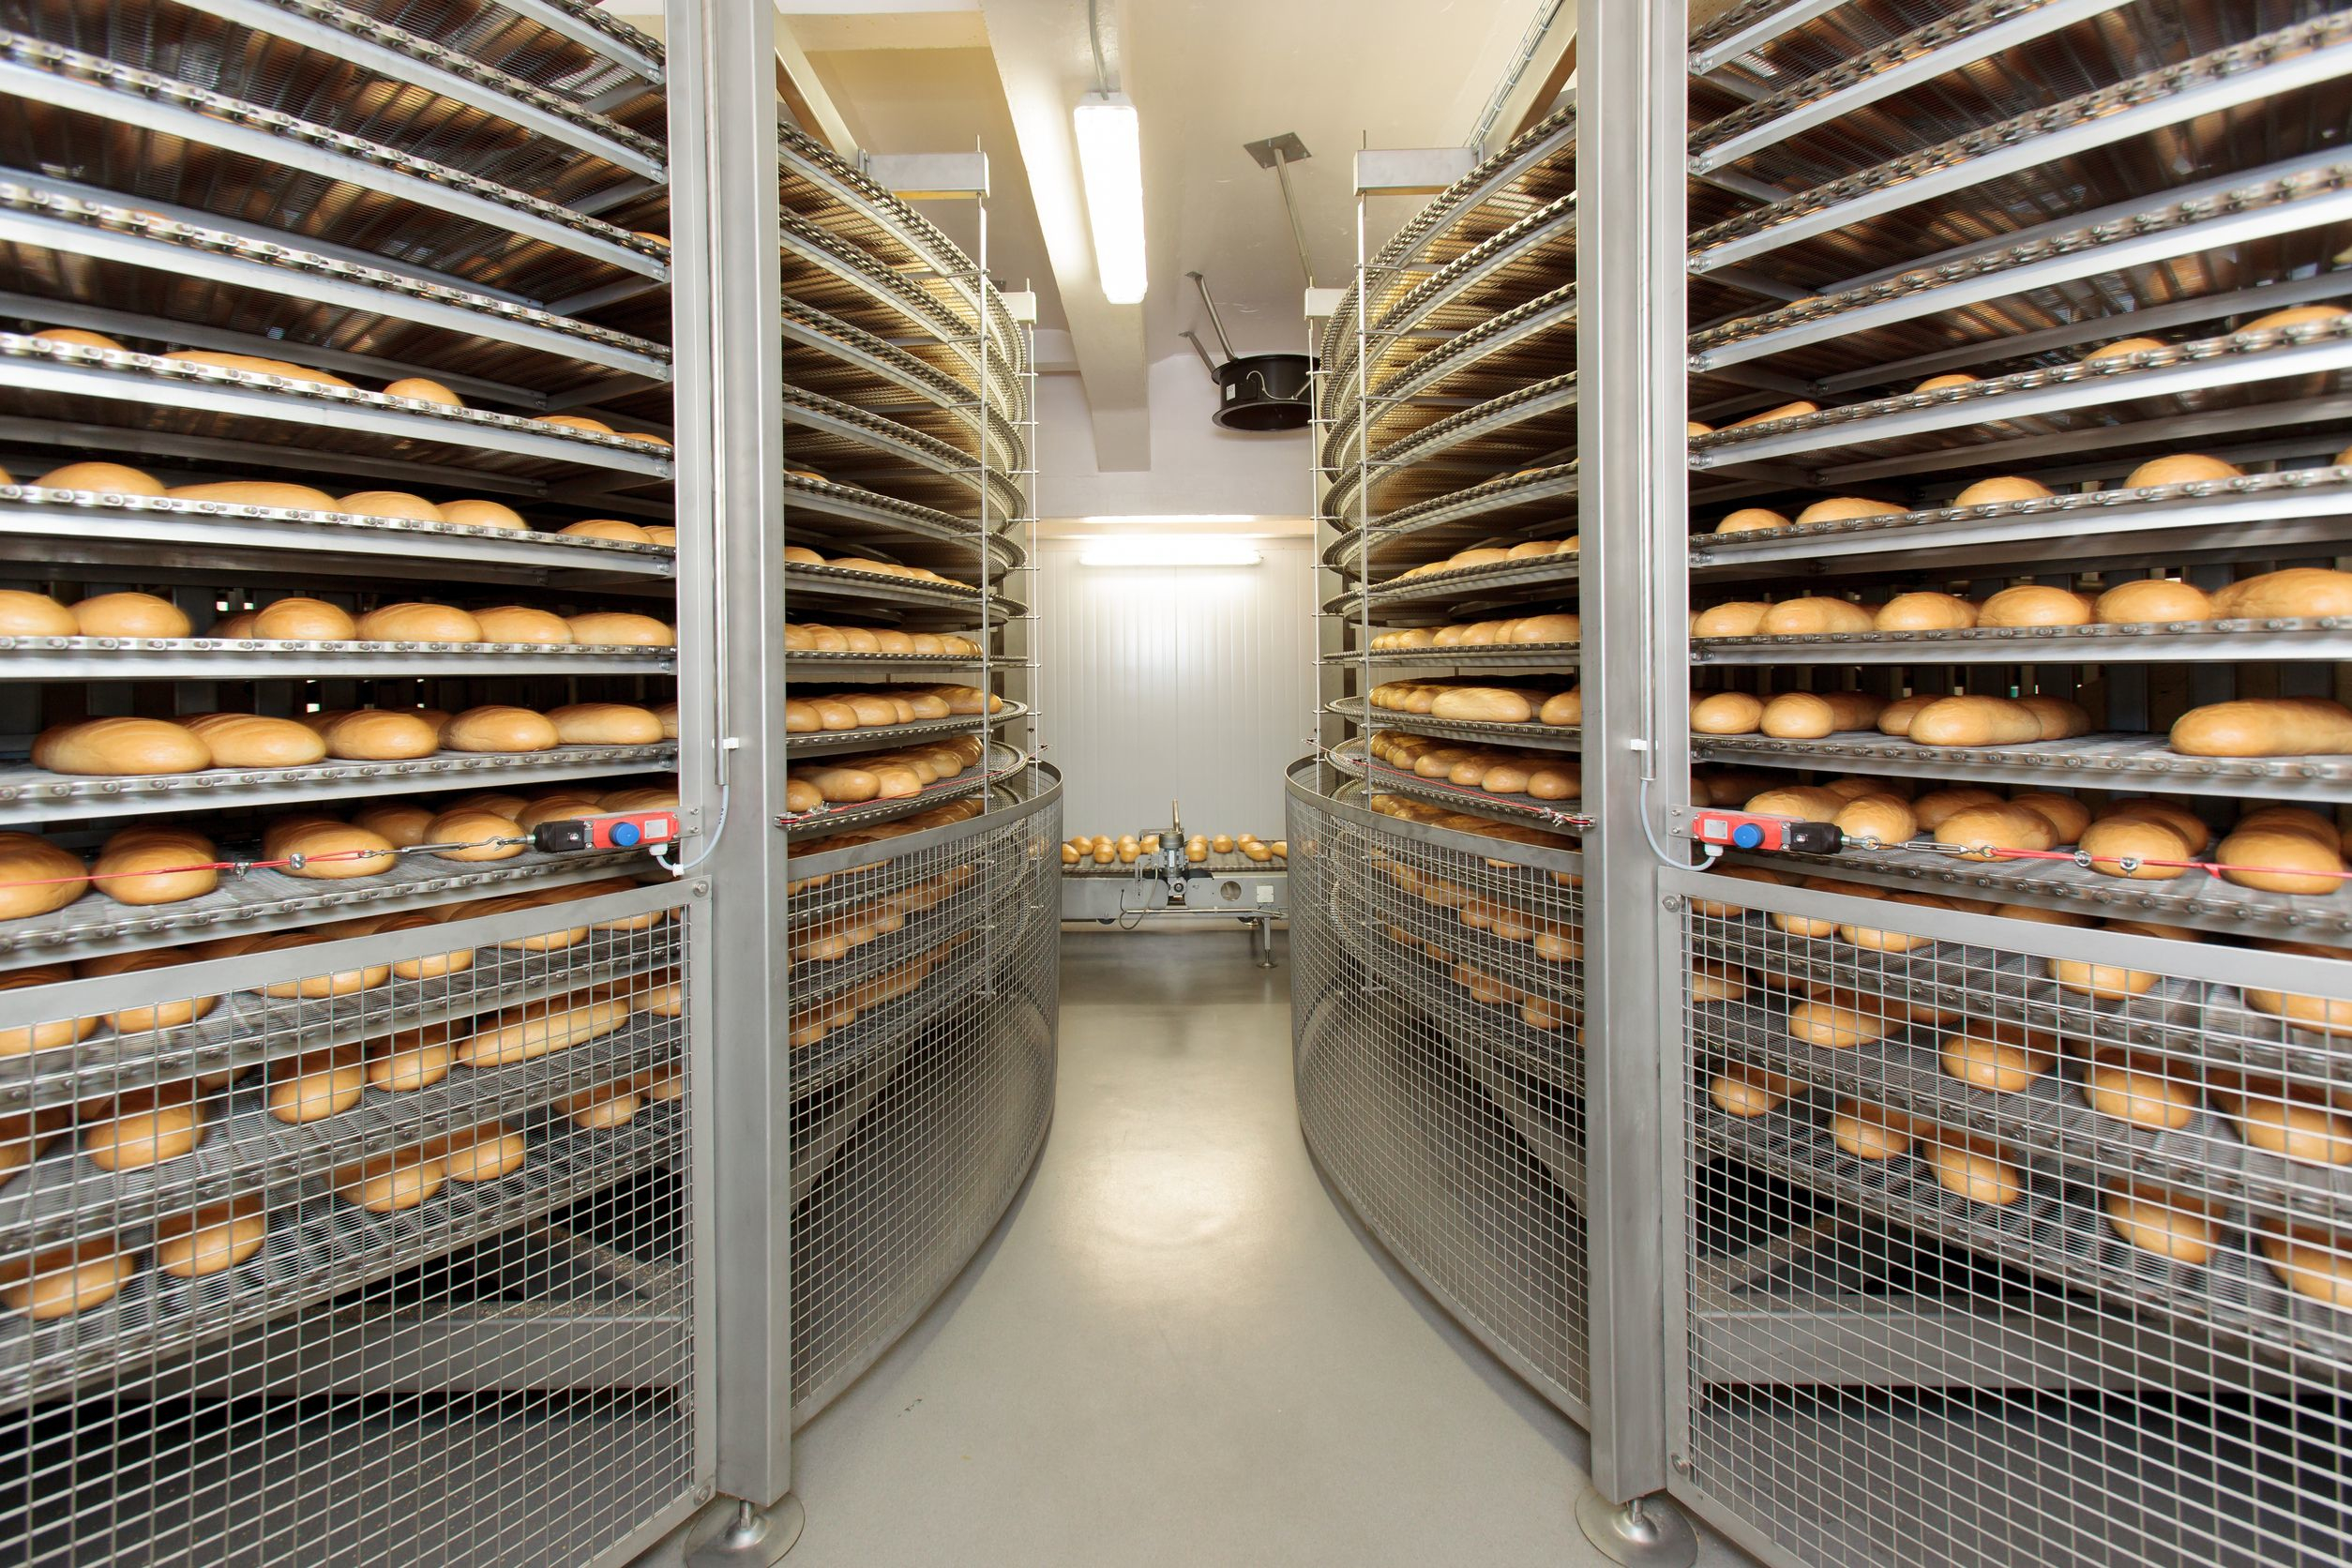
Stage Ten- Cooling and storing the finished products: cool yeast breads at room temperature and away from drafts. Cool the bread completely before slicing this allows the internal stricter to settle and evaporate any excess moisture.
http://bakerpedia.com/wp-content/uploads/2014/09/Cooling.jpg


Comments
Post a Comment